
Table of Contents
Part 1: Complete Guide to Photography Noise Reduction
-
- What Digital Noise Is and the Types You’ll See
- Controlling Noise in Camera
Part 2: Complete Guide to Professional Skin Retouching
-
- The Core Idea Behind Frequency Separation
- Building Frequency Separation Layers in Photoshop
Part 3: Custom Workflows for Three Photography Genres
- Genre 1: Starry Sky Portraits and Milky Way Night Scenes
- Genre 2: Night Scenes, Documentary, and Street Photography
- Genre 3: Commercial Portraits and Studio Retouching
Part 1: Complete Guide to Photography Noise Reduction
1. What Digital Noise Is and the Types You’ll See
Digital noise is the random interference and error created when your camera sensor converts light into electrical signals and then into digital data. The first step to reducing noise effectively is knowing which kind you’re dealing with.
1. Luminance Noise
- What it looks like: Black, white, and gray grain with no color variation—similar to traditional film grain.
- Why it happens: In low light or at high ISO, the sensor doesn’t receive enough photons, and the random fluctuation of photons hitting the sensor becomes visible as shot noise.
- How difficult it is to handle: It’s relatively mild and visually acceptable. But if you remove too much of it, you’ll quickly lose detail and end up with that plastic look.
2. Color Noise / Chrominance Noise
- What it looks like: Irregular red, green, blue, or purple colored speckles.
- Why it happens: Color channel sensing errors in very low light, sensor heating, and color guessing mistakes during demosaicing.
- How difficult it is to handle: Very damaging to image quality. The good news is that color noise doesn’t contain structural detail, so you can remove it in post without seriously harming sharpness.
3. Hot Pixels and Fixed-Pattern Noise
- What it looks like: Extremely bright isolated pixels that appear in the same place, commonly in night or astrophotography.
- Why it happens: During long exposures, the CMOS sensor stays powered on and heats up. The resulting dark current can cause individual pixels to overload.
4. Banding Noise
- What it looks like: Regular horizontal or vertical dark stripes.
- Why it happens: Electronic read noise produced when the sensor reads data row by row. You’ll typically see it when you aggressively lift very dark shadow areas.
2. Controlling Noise in Camera
No matter how powerful your post-processing tools are, they can’t fully replace clean data captured in camera.
1. Expose to the Right (ETTR)
- The core idea: Noise hides mainly in the shadows. Without clipping highlights, keep the histogram pushed as far to the right as possible.
- How to do it: Use a longer shutter speed or wider aperture to capture more photons and improve the signal-to-noise ratio. Then bring exposure back down in post. This creates far less noise than shooting too dark and aggressively lifting shadows later.
- Things to watch: At very high ISO, keep a close eye on the histogram so you don’t blow highlights.
2. Exposure Settings and Hardware Choices
- Stick to native ISO: Use your camera’s base ISO, such as ISO 100 or 200, whenever possible. In low light, turn to fast lenses like f/1.4 or f/1.8 and use a tripod with slower shutter speeds before cranking ISO.
- Shoot RAW: Avoid JPEG-only shooting. RAW files preserve your sensor’s original 12-bit or 14-bit data, giving you much more room for AI noise reduction and detail recovery later.
3. Multi-Shot Stacking for Noise Reduction
- The core idea: Noise is random, so noisy pixels appear in different places in each shot. Real scene detail, however, stays fixed. When you average or take the median of several consecutive shots, the random noise cancels out and you get a much cleaner image.
- How effective it is: With $N$ stacked photos, noise drops to about $1/\sqrt{N}$. Stack 4 photos and noise is cut in half; stack 16 and it drops by 75%.
- When to use it: Deep-sky astrophotography, night architecture, drone photography—anything shot on a fixed tripod.
4. Dark-Frame Subtraction and In-Camera Long Exposure Noise Reduction
- In-camera long exposure noise reduction: After a long exposure, the camera automatically takes a black frame of the same duration, records the thermal noise, and subtracts it.
- Manual dark-frame subtraction: If you don’t want to wait twice as long on location, cover the lens cap after your shot and take 1–5 black frames at the same ISO, shutter speed, and temperature. Then subtract them in Sequator, Starry Landscape Stacker, or Photoshop.
3. Comparing Post-Processing Noise Reduction Options
1. A Quick Look at Mainstream AI Noise Reduction Software
DxO PureRAW (DeepPRIME / DeepPRIME XD3)
- What it is: The leading RAW preprocessor. It applies noise reduction during demosaicing and includes custom lens corrections.
- Strengths: At extreme high ISO, it preserves detail very naturally. Feathers, star fields, and fabric textures come out exceptionally well with few artifacts. It outputs linear DNG files.
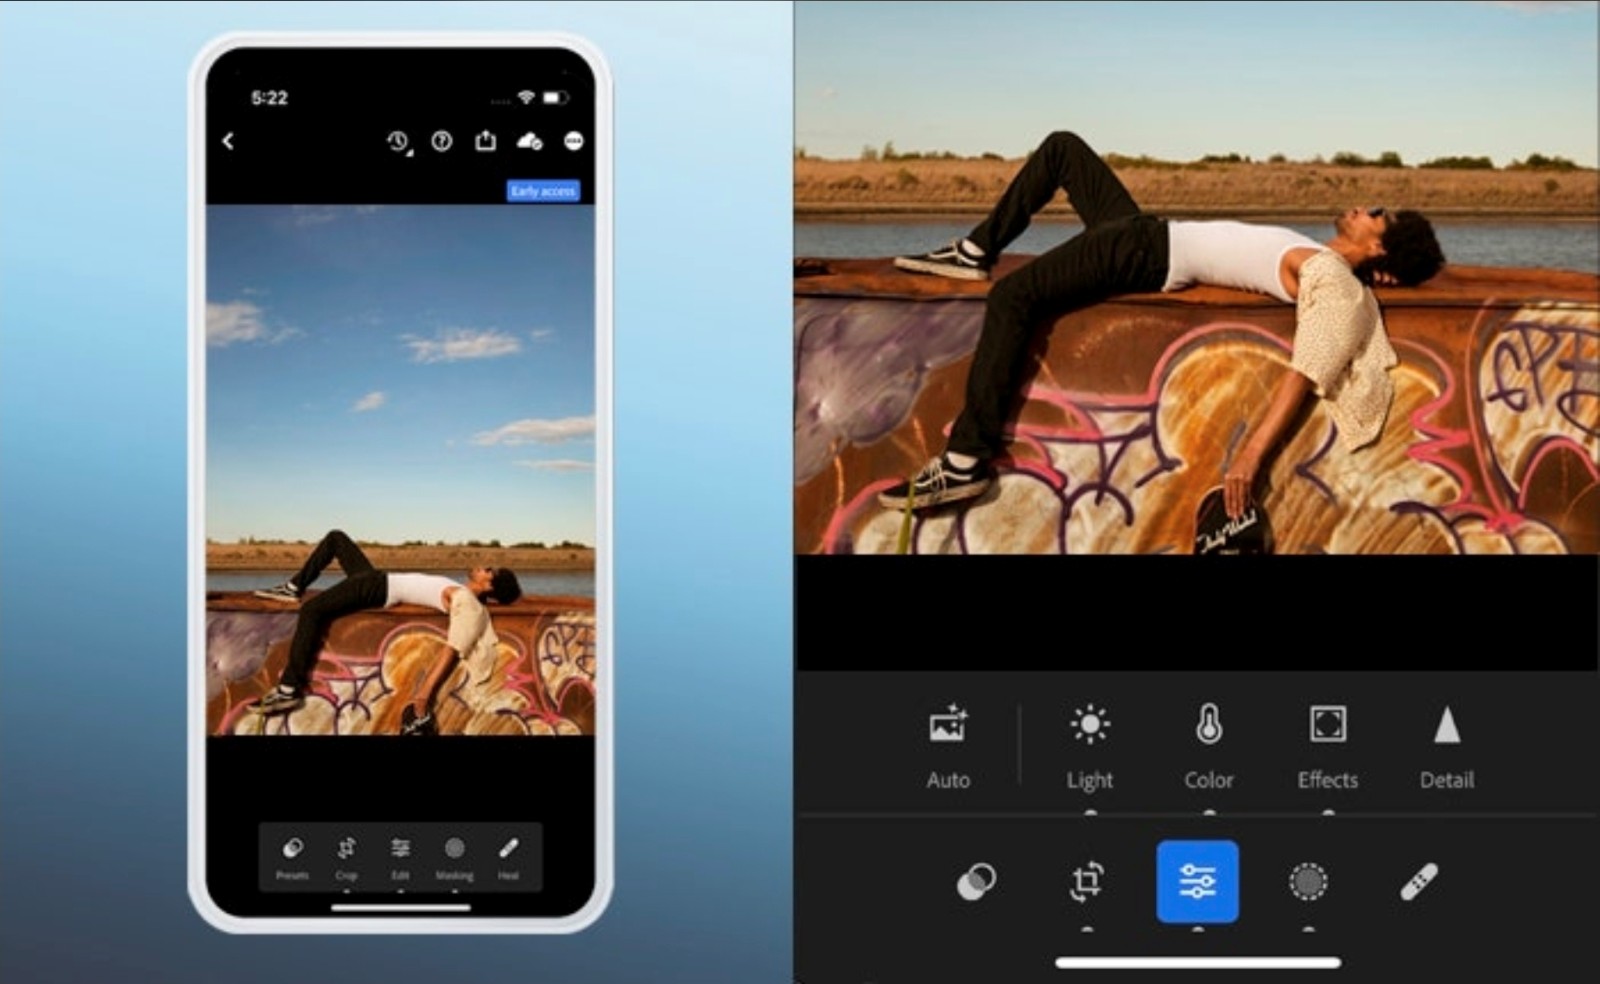
Adobe Lightroom Classic / Camera Raw (AI Denoise)
- What it is: Built into the Adobe ecosystem, so it’s extremely convenient.
- Strengths: Great color reproduction and a solid balance between noise removal and detail retention. One click produces a cleaner DNG and stacks it automatically.
Topaz Photo AI / DeNoise AI
- What it is: An all-in-one AI restoration tool that combines noise reduction, sharpening, and super resolution.
- Strengths: Excellent at rescuing very blurry or extremely high ISO images. Just be careful not to push the settings too hard, or you’ll see artifacts on faces and backgrounds.
ON1 NoNoise AI
- What it is: A cost-effective option that handles RAW, JPEG, and TIFF. It also includes the Tack Sharp sharpening module.
2. Standard Steps for Manual Stacking Noise Reduction in Photoshop
- In Lightroom, select 10–16 consecutive photos, right-click, and choose Open as Layers in Photoshop.
- Select all layers and go to Edit > Auto-Align Layers, with Projection set to Auto.
- Right-click the layers and choose Convert to Smart Object.
- Go to Layer > Smart Objects > Stack Mode > Median or Mean. Noise disappears almost instantly, while stars and scene details stay sharp.
3. Traditional Local Noise Reduction in Photoshop (Surface Blur + Mask)
For skies or blurred backgrounds, duplicate the layer, apply Filter > Blur > Surface Blur with Radius 5 and Threshold 15, add a black layer mask, and use a soft white brush to paint only the smooth areas that need cleanup.
4. Noise Reduction on Mobile
Lightroom Mobile (Free / Premium)
The mobile version of Lightroom is surprisingly capable. Even though phones can’t do complex layer blending and frequency separation like Photoshop, the Detail panel, Healing tools, and AI smart masks still let you do professional-level noise reduction and skin smoothing that preserves pore texture.
When reducing noise on mobile, always zoom in to 100% so you can judge detail accurately. The general order is: remove color noise first, then luminance noise, then apply masked sharpening.
Adjusting the Detail Panel
-
Color Noise Reduction
- What it does: Removes irregular red, green, and blue speckles in shadows or low-light areas.
- Suggested setting: 20–40 usually clears color noise easily with almost no loss of detail.
-
Luminance Noise Reduction
- What it does: Smooths black-and-white grain.
- Suggested setting: Start at 20–40. For low-light night scenes, you can go up to 40–60, but don’t overdo it, or skin and backgrounds will start looking unnaturally smooth.
-
Luminance Detail
- What it does: Controls how much micro-texture is kept after noise reduction.
- Suggested setting: Keep it around 50 to avoid excessive smoothing.
Combining Sharpening and Masking to Prevent Noise from Coming Back
- Sharpening Amount: Increase moderately by +15 to +30.
- Masking: This is the most important step. Drag the Masking slider to 50–80. Sharpening will then only affect high-contrast edges like the eyes and outlines, while smooth skin and backgrounds stay untouched, preventing noise from being amplified.
If you have a Lightroom Premium subscription and import camera RAW files, the Detail panel may show a cloud AI Denoise option. One tap produces a very high-quality deep noise reduction.
Free Noise Reduction Options
Lightroom Mobile’s manual noise reduction is completely free. Open the Detail panel, and the Noise Reduction, Color Noise Reduction, and Masking sliders are available to everyone. Even the free version can decode camera RAW files, and the combination of manual sliders and masking handles more than 80% of everyday RAW noise reduction needs.
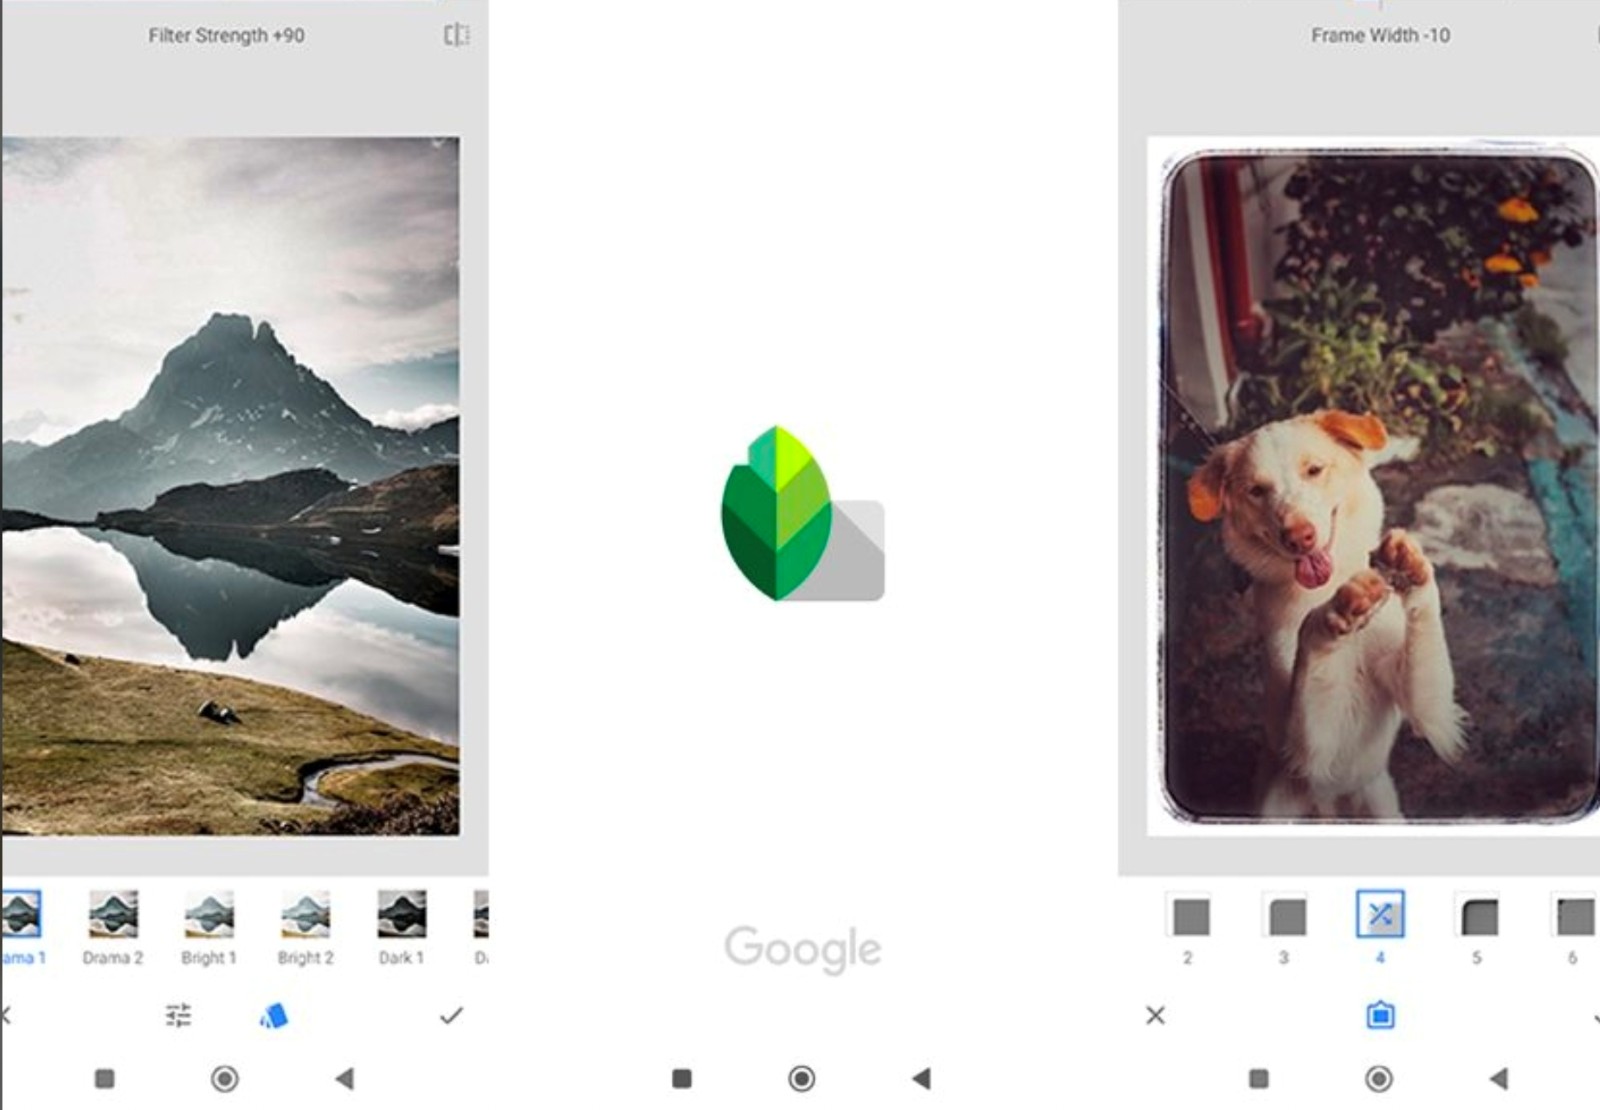
Snapseed
-
Why it’s great: Completely free, no ads, no watermark, with 30+ professional tools and RAW/DNG support.
-
Noise reduction tips:
- The Details tool includes Structure and Sharpening. Lowering Structure can smooth out background noise nicely.
- Use the Selective or Brush tools to target only specific areas such as the sky, shadows, or skin—this avoids blurring the whole image.
Built-In Phone Editors
- iOS Photos: Open a RAW or regular photo, go to Edit, and swipe through the toolbar to find Noise Reduction, Definition, and Sharpness. Raising Noise Reduction a bit can quickly clean up shadow grain.
- Google Photos: Includes Denoise and AI Unblur, which can reconstruct blurred and noisy edges.
Free AI Noise Reduction Tools
- Remini / Pictura: One-tap AI restoration. Very strong for low-light portraits and recovering clarity. Free versions have daily limits and may show ads.
- LetsEnhance.io: No app installation needed. Open it in your mobile browser, sign up for free credits, and the AI models can automatically remove high ISO noise and enhance detail. Good for occasional tricky rescues.
Recommended Free Combinations
| Scenario | Recommended Solution |
|---|---|
| Daily RAW photos | Free Lightroom Mobile (Detail panel) or Snapseed manual control |
| Portrait skin smoothing and skin tone | Snapseed Selective or Brush to reduce shadow structure while keeping highlights crisp |
| Near-ruined high-noise photos | One AI restoration pass with Remini or LetsEnhance free credits |
5. Using Masking to Keep Sharpening from Amplifying Noise
In Lightroom Mobile, the key tool for preventing sharpening from creating or amplifying noise is the Masking slider in the Detail panel. Many people see noise “rebound” after sharpening because sharpening is applied to the whole image by default—including sky, shadows, and skin. The Masking slider lets you limit sharpening to high-contrast edges while protecting smooth areas.
Method 1: Use the Masking Slider in the Detail Panel
-
Go to the Detail panel.
-
First set your basic sharpening, usually around +20 to +40. If you zoom in, you’ll see that noise in shadows and smooth areas also gets amplified.
-
Use the two-finger black-and-white preview: hold one finger on the screen while dragging the Masking slider with another. The black-and-white view shows:
- White: areas that will be sharpened.
- Black: areas protected by the mask and completely excluded from sharpening.
-
Gradually drag the Masking slider to the right, usually to 50–80, while watching the black-and-white display. Keep going until smooth areas like the sky, background, and skin turn completely black, and only outlines, eyes, hair, or object edges remain white. When you release, sharpening will only affect those white edge areas. Noise in the black areas won’t be activated or amplified.
Method 2: Use a Local Mask to Separate Subject from Background
- Tap the Masking tool at the bottom, tap +, and choose Select Subject or Select People.
- Inside the generated subject mask, go to the Detail panel and sharpen only the person or foreground.
- Because the background isn’t inside the mask, background shadow noise won’t be affected by sharpening.
A good workflow: first reduce luminance noise, then add a moderate amount of sharpening, then hold the screen with two fingers and drag Masking to 60+. Black protects smooth areas, white sharpens edges.
Part 2: Complete Guide to Professional Skin Retouching
1. The Core Idea Behind Frequency Separation
Traditional skin smoothing tends to blur skin texture and skin tone together, producing a lifeless plastic look. Frequency separation is the industry standard for commercial portrait retouching.
- Low-frequency layer (color and tone): Contains only color, tonal transitions, and smooth gradients—no pores or fine detail.
- High-frequency layer (texture): Contains only micro-texture such as pores, fine lines, blemishes, and stray hairs.
Why it works: When you smooth uneven skin tone and blotchy light on the low-frequency layer, the pore texture on the high-frequency layer stays intact. When you remove acne or stray hairs on the high-frequency layer, the underlying skin tone and tonality remain untouched.
2. Building Frequency Separation Layers in Photoshop
8-bit and 16-bit images use different formulas for frequency separation, so make sure you use the right settings.
Step 1: Duplicate and Rename Layers
- Open a portrait in Photoshop and press Ctrl/Cmd + J twice to duplicate the background layer.
- Rename the middle layer Low Frequency, and the top layer High Frequency.
- Select both layers, press Ctrl/Cmd + G to group them, and name the group Frequency Separation Retouching.
Step 2: Apply Gaussian Blur to the Low-Frequency Layer
- Temporarily turn off the eye icon on the High Frequency layer and select the Low Frequency layer.
- Go to Filter > Blur > Gaussian Blur.
- How to choose the radius: Zoom in to 100% and watch the skin. Increase the radius gradually until pores and fine lines just blur away, but the overall facial contours and light-to-shadow structure remain clear. For high-resolution images, 4–8 pixels is typical; for lower-resolution or distant shots, roughly 1.5–3 pixels works well.
Step 3: Apply Image to the High-Frequency Layer
Turn the High Frequency layer back on and select it, then go to Image > Apply Image. Configure it based on bit depth:
| Setting | 8-bit image | 16-bit image |
|---|---|---|
| Layer | Select Low Frequency | Select Low Frequency |
| Channel | RGB | RGB |
| Blending | Subtract | Add |
| Scale | 2 | 2 |
| Offset | 128 | 0 |
| Invert | Unchecked | Checked |
After this, the High Frequency layer becomes a neutral gray image with faint gray texture lines.
Step 4: Change the Blend Mode and Verify
- Change the High Frequency layer’s blend mode from Normal to Linear Light.
- Verify: Turn the entire Frequency Separation group on and off. The image should look exactly like the original, with no brightness or color shift. That confirms the separation worked.
3. Frequency Separation Retouching in Practice
1. Retouching the Low-Frequency Layer: Smoothing Skin Tone and Light
Method A: Lasso Tool + Gaussian Blur
- Select the Low Frequency layer, choose the Lasso Tool, and set Feather to 15–25 pixels for soft transitions.
- Select a local area with uneven skin tone or blotchy lighting, such as redness on the forehead or dullness on the cheeks, but avoid crossing the eyes, lips, or facial edges.
- Go to Filter > Blur > Gaussian Blur, using a radius about 1.5–3 times the one you used when creating the separation. The skin tone will smooth out automatically. Deselect and repeat on other areas as needed.
Method B: Mixer Brush
- Select the Low Frequency layer and switch to the Mixer Brush.
- Settings: Choose Clean brush after each stroke, set Wet to 15–20%, Flow to 10–20%, and uncheck Sample All Layers to avoid pulling in high-frequency texture.
- Paint gently along the direction of the muscles to smooth highlights and shadows. This makes the skin tone more even and translucent while keeping the natural facial structure.
2. Retouching the High-Frequency Layer: Removing Blemishes and Repairing Texture
- Select the High Frequency layer and choose the Healing Brush or Clone Stamp tool.
- Critical setting: In the top options bar, set Sample to Current Layer. Never use Current & Below, or you’ll damage the low-frequency color.
- Hold Alt/Option, sample from nearby healthy skin texture, then click or paint over acne, blackheads, deep wrinkles, or stray hairs. The blemish disappears instantly, and the underlying skin tone is completely unaffected.
3. Advanced Blemish Repair: Overexposed Highlights and Hard Shadows
When the face has oily shine or blown highlights from strong light, using the Clone Stamp directly can look smudgy.
- Low-frequency layer: Use the Mixer Brush or Eyedropper to sample surrounding normal skin tone, then fill in the overexposed area’s color and tonality evenly on the Low Frequency layer. The area will look flat and poreless for now.
- High-frequency layer: Switch to the High Frequency layer and use the Clone Stamp to sample nearby normal pore texture, then paint it onto the highlight area. Realistic pores come right back.
4. Mobile Skin Smoothing That Preserves Texture
The mobile version of Lightroom can’t do complex layer blending and frequency separation like Photoshop, but with the Detail panel, Healing tool, and AI smart masks, you can still achieve professional-level noise reduction and skin smoothing that keeps pore texture intact.
Efficient Mobile Workflow Checklist
- Basic light: Adjust exposure, highlights, and shadows in the Light/Color panel.
- Global noise reduction: Open Detail, adjust Color Noise Reduction (20–30), then Luminance Noise Reduction (20–40), then raise Masking (60+) to protect sharpening.
- Local blemish removal: Use the Healing tool to remove acne and blemishes.
- Texture-preserving skin smoothing: Create a new AI skin mask, then set Texture to -25 and Clarity to -15.
- Facial feature refinement: Create new AI eye/lip masks and fine-tune locally.
Step-by-Step
Step 1: Remove Acne with the Healing Tool
- Switch to the Healing tool at the bottom; its icon looks like a bandage.
- Zoom in on the face and set the brush size slightly larger than the acne or blackhead.
- Tap or paint over the blemish, and Lightroom will automatically sample nearby healthy skin and blend over it.
Step 2: Use AI Masks to Select Skin
- Tap the Masking tool at the bottom, then tap + to create a new mask.
- Choose Select People; the AI detects the face automatically.
- Check Facial Skin, and if needed, Body Skin, then create the mask. Adjustments will now only affect skin—never eyes, hair, or background.
Step 3: Texture + Clarity for Natural Skin Smoothing
Select the skin mask you just created and open the Effects tab:
- Negative Texture: Drag it to -20 to -35. The Texture slider affects pores and the microscopic surface of the skin. A moderate reduction smooths small acne marks and roughness without destroying bone structure, and it preserves the basic pore texture.
- Negative Clarity: Drag it to -10 to -20. Clarity controls mid-tone contrast. Lowering it softens uneven skin tone, redness, and harsh facial shadow transitions, making skin look smoother and more translucent.
- Slightly reduce Contrast (optional): Set it to -5 to -10 to further soften overly harsh facial lighting.
Step 4: Even Out Skin Tone and Shape Local Light
-
Correct reddish skin tone: In the skin mask, open Color and shift Temp slightly toward yellow by +1 to +3, or reduce Saturation by -5 to remove abnormal redness on the forehead or cheeks.
-
Brighten eyes and lips locally:
- Create another mask and choose Select People > Iris & Pupil, then increase Exposure slightly (+0.2) and Clarity (+15) to brighten the catchlight.
- Create a mask and choose Lips, then moderately increase Saturation and Contrast to enhance lip texture.
5. Choosing Mobile Frequency Separation Apps
True frequency separation depends on multi-layer blending, Gaussian blur or high-pass filters, Apply Image or subtraction calculations, and the Linear Light blend mode. Simple single-layer or slider-based apps such as Lightroom Mobile and Snapseed can’t perform real physical frequency separation; they can only simulate a similar result with AI masks plus negative Texture and Clarity. Only mobile apps with a complete professional layer system and channel calculations can achieve true pixel-level separation.
iOS / iPadOS
Professional Apps That Can Do True Frequency Separation
| App | Positioning | Frequency Separation Strengths |
|---|---|---|
| Affinity Photo for iPad (most recommended) | The most powerful mobile retouching app closest to desktop Photoshop | Offers a built-in one-click Frequency Separation filter under Filters > Frequency Separation. It automatically splits the photo into low and high independent layers, so you can use a brush to work on skin tone and blemishes separately—very efficient |
| Adobe Photoshop for iPad | Adobe’s official mobile version of Photoshop | Layer system completely matches desktop, supports layer duplication, Gaussian blur, Apply Image Subtract mode, and Linear Light blend mode, so you can replicate the desktop frequency separation workflow 100% |
| Artstudio Pro | Known as mobile “mini Photoshop,” works on iPhone and iPad | Supports layer groups, mathematical Subtract, Gaussian blur, and Mixer Brush, so you can manually build and run a frequency separation workflow even on a small iPhone screen |
| Photomator / Pixelmator Pro | Well-known layer and AI editing tools in the Apple ecosystem | Supports multiple layers and the High Pass filter. By combining an original, a Gaussian blurred layer, and a high-pass filtered layer, you can indirectly build a frequency separation structure |
Quick Apps That Can’t Build Layers but Can Simulate Frequency Separation Logic
- Lightroom Mobile: Uses AI skin masks to select facial skin, then reduces Texture in the Effects panel to smooth microscopic pore grain and slightly lowers Clarity to soften uneven light. Limitation: it’s still blending pixels on a single layer, and at extreme settings you’ll lose some original pores.
- Xingtu / Meitu XiuXiu / EPIK: Built-in AI portrait reconstruction and texture-preserving skin smoothing. The algorithm extracts high-frequency texture first, then smooths low-frequency light, and you control the ratio with the “Texture” and “Smoothing” sliders. Good for fast output.

Selection Recommendations
| Scenario | Recommended App | Strengths | Weaknesses |
|---|---|---|---|
| Commercial-grade pixel separation on tablet | Affinity Photo (iPad) | Built-in one-click separation, 100% pore preservation | iPad only, paid |
| Replicating desktop Photoshop workflow on tablet | Photoshop for iPad | Seamless connection with desktop PS actions and layers | Requires Creative Cloud subscription |
| Layer-level retouching on phone | Artstudio Pro | Works on small screens, complete layer calculations | Manual layer building, learning curve |
| Fast, efficient retouching on phone | Lightroom Mobile | AI skin mask one-tap selection, controllable parameters | Simulated separation, no complex blemish replacement |
Android
Android also has powerful apps capable of pixel-level frequency separation, professional noise reduction, and texture-preserving skin smoothing. iOS/iPadOS has an advantage mainly because of exclusive software like Affinity Photo, but on Android the following tools work well.

Android Apps That Can Do True Pixel-Level Frequency Separation
| App | Format | Frequency Separation Capability |
|---|---|---|
| Photopea (strongest Photoshop alternative) | PWA / web app. Open photopea.com in Chrome or Edge, tap menu, then “Add to Home Screen” to use it like a standalone app | 100% replicates desktop Photoshop. It has complete Apply Image subtraction, Gaussian blur, layer masks, and Linear Light blend mode. You can build frequency separation exactly as you would in desktop Photoshop, completely free, and it supports camera RAW files |
| Krita (Android version) | Install directly from Google Play or the official website | A desktop-grade open-source layer program ported to Android. Very powerful layer system and filter library, supports full layer groups, Gaussian blur, high-pass filters, and Subtract/Linear Light blend modes. With a stylus on an Android tablet, the retouching experience is excellent |
| Ibis Paint X / ArtStudio | Available in mainstream Android app stores | Has a complete professional layer system, supports Gaussian blur, Clone Stamp/Healing tools, and full blend modes including darken, dodge, and Linear Light. You can manually build a frequency separation layer group even on a small Android phone |
Android Quick Texture-Preserving Skin Smoothing and Noise Reduction Apps
- Lightroom Mobile (Android version): Identical to the iOS version. The Detail panel is free and includes manual noise reduction, color noise reduction, and masked sharpening. For skin smoothing, it supports AI extraction of facial skin masks and simulates frequency separation by reducing Texture (-20) and slightly reducing Clarity (-10), smoothing skin tone while preserving RAW pore texture.
- Snapseed (Android version): Google’s completely free, ad-free editing tool. Use the Selective or Brush tools to fine-tune skin texture. Combined with RAW decoding, it’s the first choice for lightweight noise reduction and skin smoothing on Android phones.
- Xingtu / EPIK (Android version): Popular AI texture retouching tools in the domestic Android ecosystem. The algorithm separates low-frequency tone and high-frequency texture in the background, and the “Texture” and “Smoothing” sliders let you quickly smooth skin while keeping pores sharp.
Android Configuration Suggestions
| Device Type | Recommended Solution |
|---|---|
| Small-screen phone, handheld | Lightroom Mobile (Android) for RAW noise reduction + AI mask texture-preserving smoothing; use Photopea for difficult blemish repairs |
| Android tablet, large screen + stylus | Use Photopea or Krita for a full frequency separation experience comparable to desktop Photoshop |
6. Retouching Pitfalls and Efficiency Tips
1. Avoid Over-Retouching
- Preserve smile lines, nasolabial folds, and the natural facial structure. Too much smoothing destroys realism and life.
- After retouching, lower the opacity of the entire Frequency Separation group to 70%–85% so a little original texture shows through naturally.
2. Use Actions for One-Click Creation
The steps for building frequency separation are fixed but tedious. In Photoshop, open Window > Actions, record a custom 8-bit or 16-bit frequency separation action, and play it later to build the layers instantly.
Part 3: Custom Workflows for Three Photography Genres
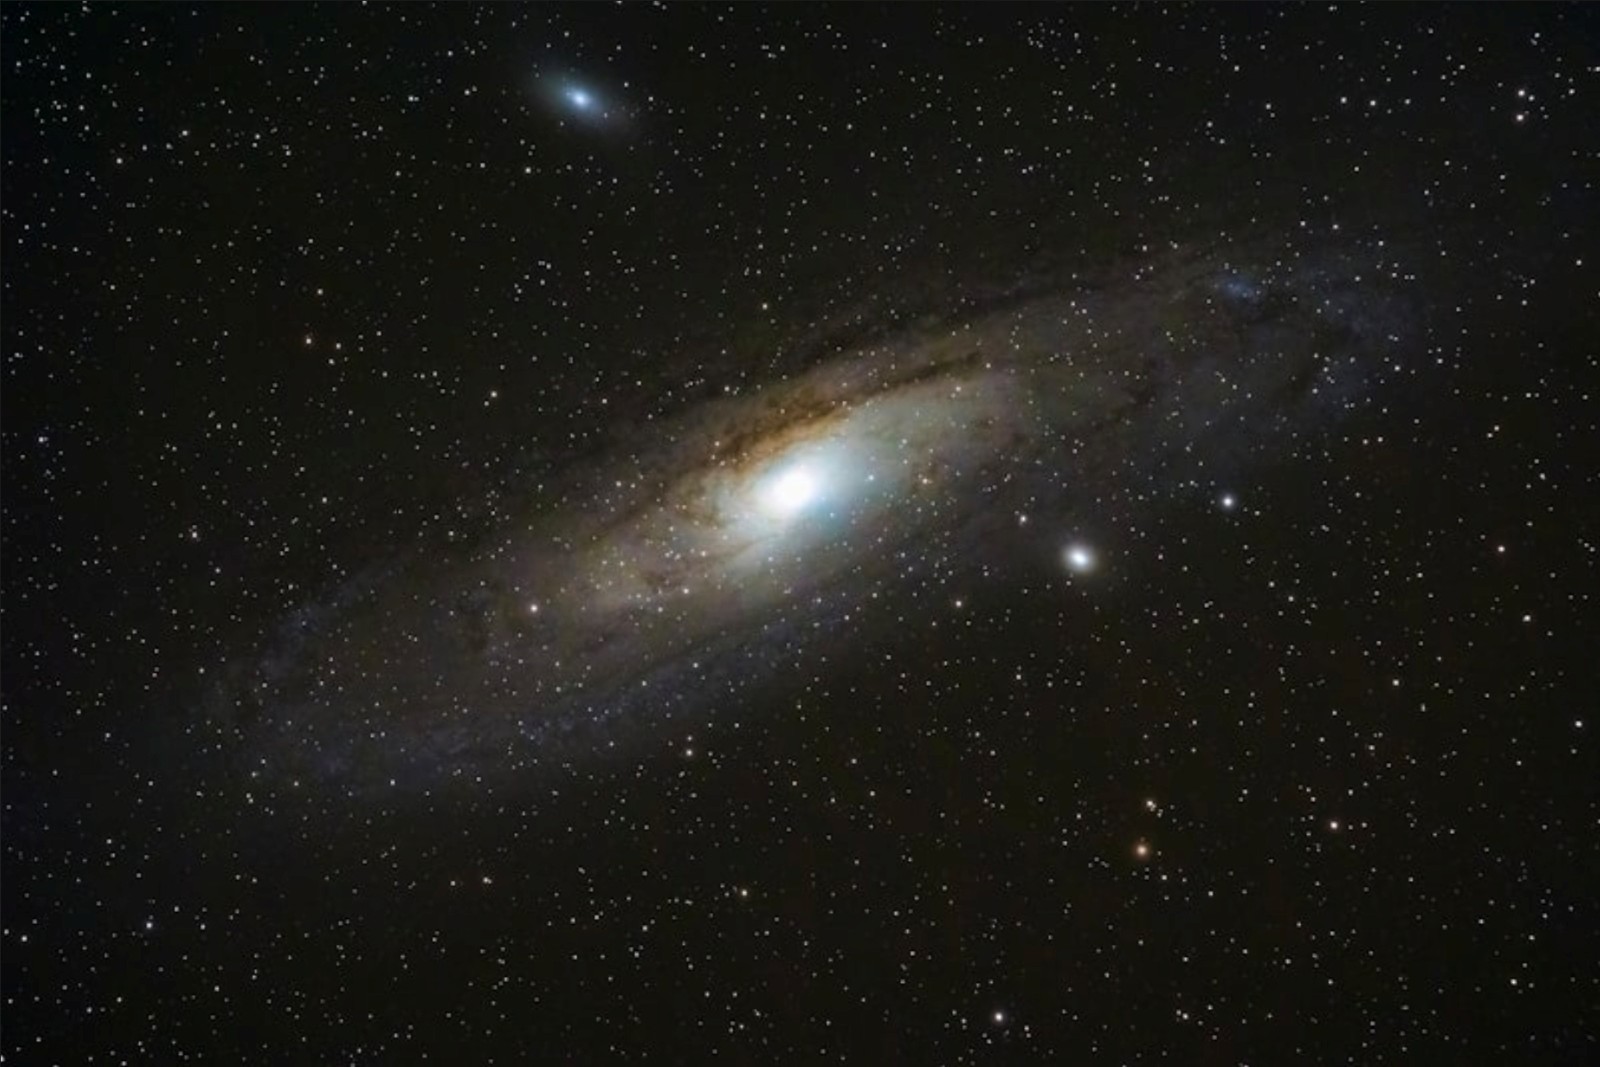
Genre 1: Starry Sky Portraits and Milky Way Night Scenes
The main challenge is removing thermal noise and shadow color noise at very high ISO values from 1600–6400, while making absolutely sure the stars are not erased as noise and preserving the color variation of the night sky.
1. Pre-Shooting Noise Control Baseline
- Exposure and rules: Use a fast aperture from f/1.4 to f/2.8, and calculate a non-trailing shutter time using the 500 rule or NPF rule, usually 15–25 seconds. Expose to the right to push the histogram as far right as possible and improve signal-to-noise.
- Shoot multiple frames: Keep the tripod fixed and shoot 8–16 RAW photos with identical settings for later stacking.
2. Lightroom Mobile Preset Guide
| Module | Adjustment | Recommended Value | Notes |
|---|---|---|---|
| Detail | Color Noise Reduction | 35–50 | Thoroughly remove red, green, and blue speckles in the very dark night sky |
| Luminance Noise Reduction | 20–35 | Smooth night sky grain moderately; don’t go too high, or faint stars will be treated as noise | |
| Luminance Detail | 50–60 | Slightly higher values help protect the clarity of tiny stars | |
| Sharpening Amount | 25–35 | Restores edge clarity | |
| Masking | 75–90 | Hold the screen with two fingers while dragging; make sure the night sky turns black so only bright stars and foreground outlines stay white | |
| Masking | AI Select Sky | Texture -10, Dehaze +10 | Enhances Milky Way core contrast while slightly reducing texture to avoid noise return |
3. Dedicated Photoshop Quick Action: Starry Sky Multi-Shot Stacking Noise Reduction
Use the fact that noise positions are random while stars and foreground stay fixed, and eliminate noise through median stacking.
- In Lightroom or Bridge, select 8–16 consecutive starry sky RAW files, right-click, and choose Open as Layers in Photoshop.
- Open the Actions panel, click Create New Action, name it Starry Sky Multi-Shot Stacking Noise Reduction, and click Record.
- Go to Select > All Layers.
- Go to Edit > Auto-Align Layers, with Projection set to Auto.
- Go to Layer > Smart Objects > Convert to Smart Object.
- Go to Layer > Smart Objects > Stack Mode > Median.
- Stop recording.
Result: Noise drops by more than 75%, while stars and Milky Way details stay absolutely sharp.
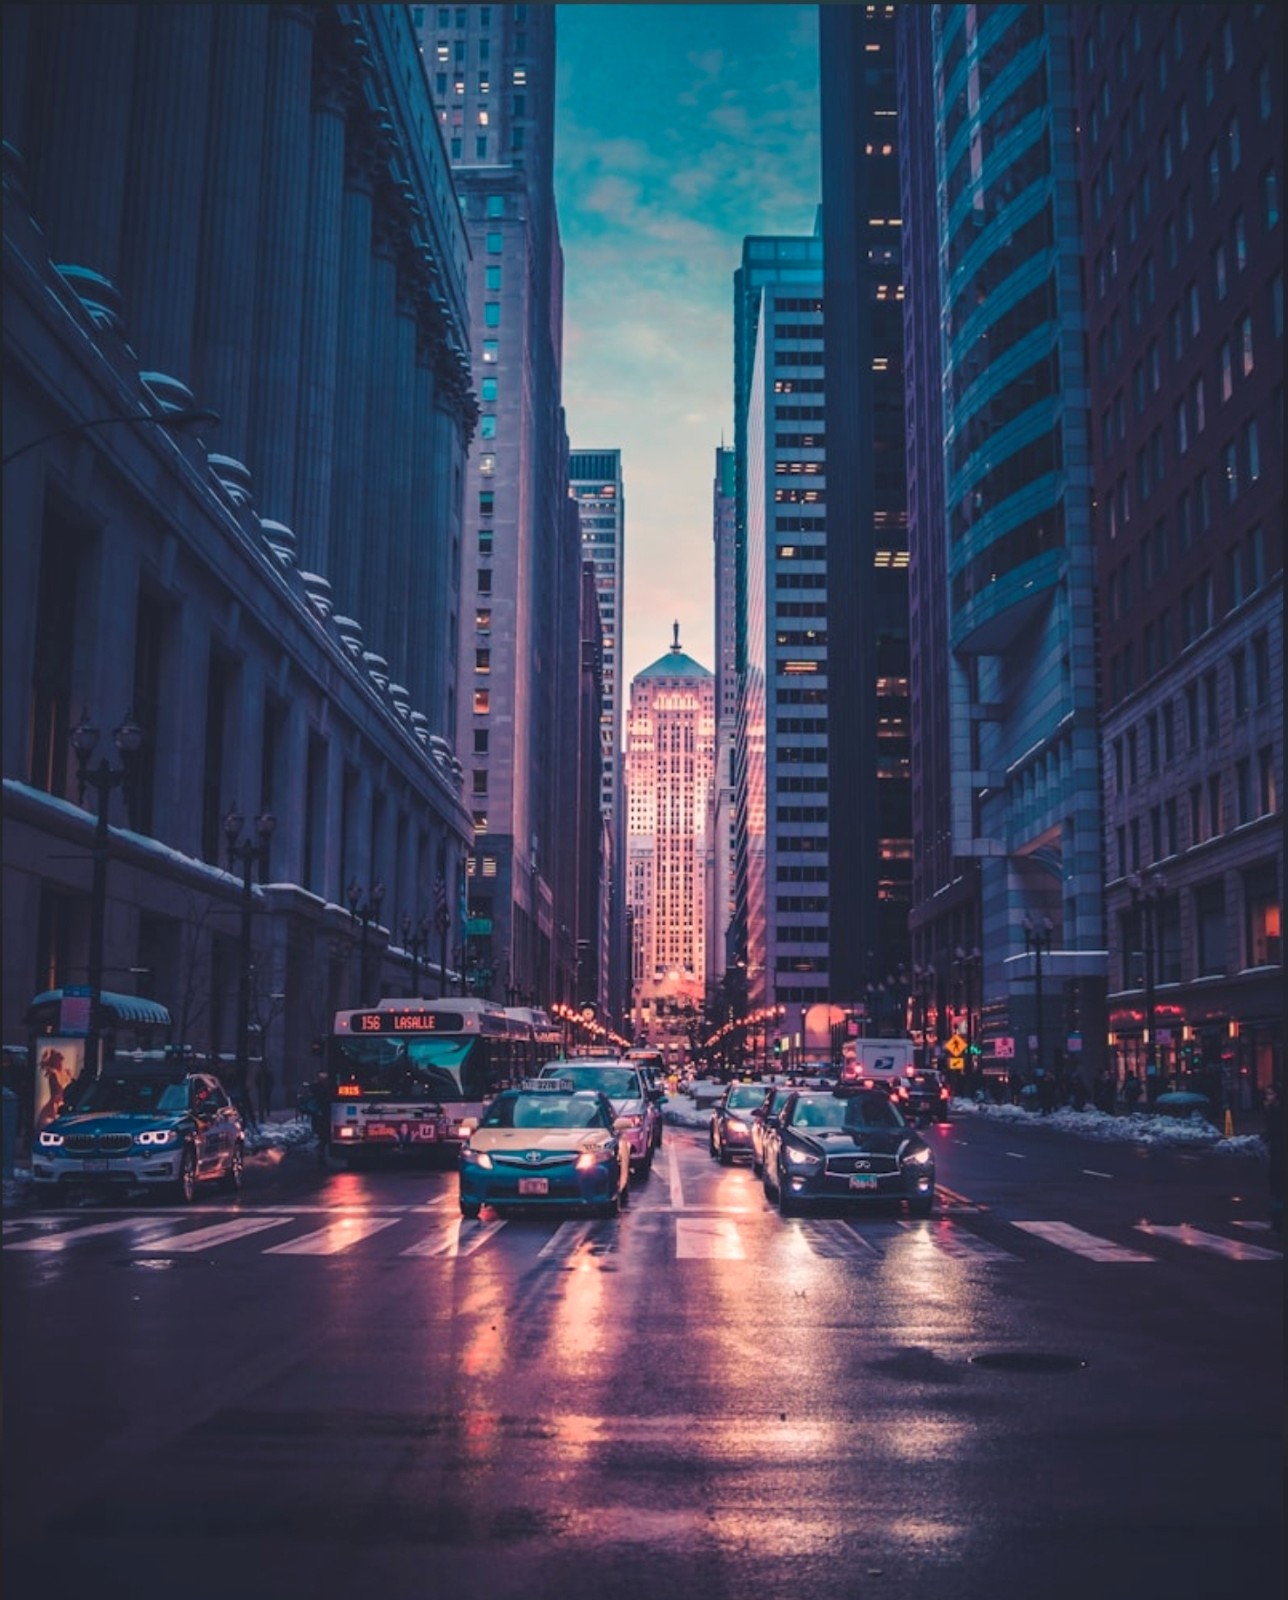
Genre 2: Night Scenes, Documentary, and Street Photography
Handheld night street photography usually relies on ISO 3200–6400 and shutter speeds of 1/125s or faster. The focus is on removing rough grain from dark areas and roads while preserving building outlines and clothing texture.
1. Pre-Shooting Noise Control Baseline
- Use a fast prime lens like a 35mm or 50mm f/1.8. When shooting handheld, prioritize shutter speed. It’s better to accept higher ISO than to ruin the shot with motion blur.
2. Lightroom Mobile Preset Guide
| Module | Adjustment | Recommended Value | Notes |
|---|---|---|---|
| Detail | Color Noise Reduction | 30–40 | Remove color mottling in neon reflection areas and shadows |
| Luminance Noise Reduction | 30–45 | Suppress noise in large asphalt road areas and dark skies | |
| Sharpening Amount | 35–50 | Enhances the hard-edged feel of night architecture and street lines | |
| Masking | 60–80 | Hold the screen and check that dark roads and sky turn black so they don’t get sharpened | |
| Masking | AI Select People/Background | Texture -15, Clarity -10 | Create a separate mask for dark background areas and reduce texture to soften noise without affecting the subject |
3. Dedicated Photoshop Quick Action: Night Scene Surface Blur + Black Mask
Great for local, non-destructive noise reduction on skies and dark building areas.
- Create a new action and name it Night Scene Surface Blur Local Noise Reduction.
- Press Ctrl/Cmd + J to duplicate the current layer and rename it Surface Blur.
- Go to Filter > Blur > Surface Blur and set Radius to 4–6 pixels, Threshold to 12–18 pixels. This filter smooths large dark areas while keeping edges.
- Hold Alt/Option and click the Add Layer Mask button at the bottom of the Layers panel to create a solid black mask.
- Automatically select the Brush tool, set foreground color to white, brush Opacity to 40%, and Flow to 50%.
- Stop recording.
How to use it: After playing the action, use a white brush to paint over noisy dark areas or skies.
Genre 3: Commercial Portraits and Studio Retouching
Studio and commercial portraits are typically shot at base ISO 100–200 with very low noise, but the requirements are demanding: remove acne, redness, and oily shine, smooth skin tone transitions, yet preserve 100% of the original pores and skin texture.
1. Lightroom Mobile Skin-Smoothing Alternative: Preset Guide
| Module | Adjustment | Recommended Value | Notes |
|---|---|---|---|
| Healing | Spot Healing Brush | Manual click | First remove obvious acne, blackheads, and stray hairs |
| Masking | AI Select Facial Skin | Texture -20 to -30 | Core skin smoothing: negative Texture targets microscopic pores and roughness while preserving bone structure |
| Clarity -10 to -15 | Softens harsh highlight-to-shadow transitions and unifies skin tone | ||
| Masking | AI Select Iris/Pupil | Exposure +0.2, Clarity +15 | Brightens catchlight and makes the eyes look clearer |
2. Dedicated Photoshop Quick Action: Frequency Separation (8-bit & 16-bit)
Using a 16-bit RAW image as an example:
-
Create a new action, name it Frequency Separation (16-bit), and click Record.
-
Press Ctrl/Cmd + J to duplicate the background layer twice. Rename them Low Frequency (Color & Tone) and High Frequency (Skin Texture). Select both, press Ctrl/Cmd + G to group them, and name the group Frequency Separation Retouching.
-
Temporarily turn off the High Frequency layer’s eye icon and select the Low Frequency layer. Go to Filter > Blur > Gaussian Blur, set the radius usually to 4–8 pixels until pores just blur away, and click OK.
-
Turn on and select the High Frequency layer, then go to Image > Apply Image:
- Layer: Low Frequency
- Blending: Add
- Scale: 2, Offset: 0
- Check Invert
-
After clicking OK, change the High Frequency layer’s blend mode to Linear Light.
-
Create a new blank layer above the Low Frequency layer and name it Low Frequency Painting. Automatically select the Mixer Brush, with Wet at 15%, Flow at 20%, and Sample All Layers unchecked.
-
Stop recording.
If recording an 8-bit version, change Step 4 to: Blending set to Subtract, Scale 2, Offset 128, and do not check Invert.
Summary: A Practical Noise Reduction and Retouching Checklist
Before You Shoot
- Shoot in RAW
- Stick to native ISO whenever possible
- Use Expose to the Right
- For night scenes and starry skies, shoot multiple frames for stacking
Global Noise Reduction in Post
- Import into Lightroom / DxO PureRAW for AI noise reduction preprocessing
- Restore basic exposure and white balance
Local Portrait Retouching
- Import into Photoshop and perform frequency separation
- Smooth skin tone and light on the Low Frequency layer
- Remove acne and imperfections on the High Frequency layer while preserving natural pores
Output Check
- Zoom in to 100% to check edges and texture
- Slightly lower the retouching group opacity for a more natural look
Color Grading and Noise Reduction Order
- Always correct exposure and white balance first, then reduce noise
- In Photoshop, always remove obvious acne with the Healing Brush before running the frequency separation action
Avoiding the Plastic Look
- After frequency separation, set the entire Frequency Separation group opacity to 75%–85% so a bit of original texture shows through for the most natural result.
- Lightroom Mobile two-finger gesture: when adjusting the Masking slider in the Detail panel, hold the screen with one finger and drag with another until black covers dark noise areas and white only wraps edges.
Tips for Processing RAW Files on Mobile
- Check at 100% zoom: When adjusting luminance noise reduction and texture, double-tap to zoom to 1:1 and watch skin pores and dark areas so you don’t misjudge the strength of noise reduction at reduced size.
- Export settings: If the image will be printed or edited further, export as DNG or as the highest-quality JPEG at 100% quality in the sRGB color space to preserve the color depth from your RAW adjustments.